Sanding Wooden Floors
After washing with deep energy, the wood fibers of the different components of the floor often rise when they expand with water. After drying, these wood fibers can often rise and cause debris. For this reason, you should plan to sand your wooden floor after washing with electricity and before staining and sealing. This important step will ensure that your refinishing work yields great results..Sanding Wooden Floors
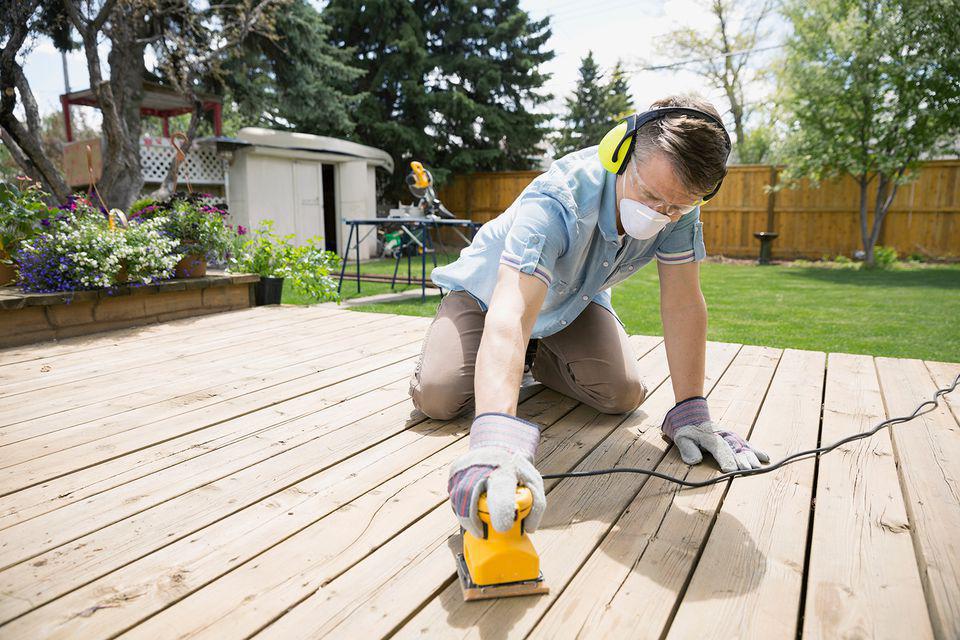
The sanding machines used for sanding floors come in many forms, from standard household orbital sanders operated by hand, to commercial upright sanders that you can rent from home improvement centers and rental shops. Any of these will sand your entire deck if used correctly. Most homeowners find it entirely feasible to sand with a regular consumer sander, although patience is required, especially with large floors that may take several days of work if you are using a handheld sander. Remember that the wood used on the floor is often softwood that can be gouged if you use power tools or very coarse sandpaper. Belt sanders, whether handheld or large standing models, tend to gouge softwood, so random orbit or orbital sanders often work better. Also, remember to wear a dust mask and safety glasses when sanding, as wood dust can be hazardous to health if inhaled. Knee pads and hearing protection will also help make your work safer and more comfortable.
Make sure your floor is completely dry before you sand. If it has rained recently or if you have been flooded, wait a few days before sanding. Treat the surface of the floor, railings, and edges of the boards as different tasks, changing the sanding technique for each type.
Preparation Steps
Start by carefully inspecting all surfaces you will be sanding, including edges, stairs, and railings. Make sure all screws are driven below the surface of the wood. There may be some very old screws that need to be removed and replaced. If there are any loose boards, now is the time to drive in new screws to secure them. If there are any debris or deep gouges in the wood, make sure these are filled or repaired before you start sanding. If using wood filler, ensure that it is completely dry and hard before you move on to sanding.
Sanding the Floor Surface
When sanding hardwood, the goal is often the smoothest surface possible, but this is not the case when sanding outdoor floor surfaces. To sand deck boards, use sandpaper with a grit no finer than 60 or 80. Sanding with finer grit paper (100 grit or higher) will smooth the wood to the point where the pores begin to close up, which will hinder the absorption of stain or sealant into the wood. Use moderate pressure on your handheld sander, checking the uniformity of the surface as you move.
Thoroughly vacuuming all surfaces is very important before you move on to staining and sealing the deck.
Sanding the Edges
Sanding the outer edges of the floorboards can be a bit tricky depending on your floor design, especially if the railing has very low bottom rails making access difficult. Here, a smaller detail sander may prove useful if your standard orbital sander does not fit. Again, use sandpaper with a grit of 60 to 80 for the end grain of the floorboards and ensure you sand as evenly as possible, as stains often absorb unevenly into the end grain if the boards are not sanded to uniformity.
Again, wipe off the dust from the end grains before moving on to staining and sealing.
Sanding the Railings
Sanding your deck railings is very important as it is the most visible element and where people focus their attention. Additionally, the handrails must be particularly smooth to avoid splinters that could injure your hands.
On the railings, use 80 to 100 grit sandpaper and take care to sand all surfaces and crevices. Here, a detail sander or even hand sanding may be needed to reach all areas, but again, not sanding to a smooth finish will prevent the stain from penetrating.
Thoroughly vacuum, but also wipe all surfaces with a clean cloth to remove all traces of sanding dust before you move on to staining and sealing.
Cleaning the Wood Before Staining or Sealing
It is best to move on to staining and sealing as quickly as possible after sanding. Ensure that all surfaces are carefully vacuumed so that no sanding dust remains, then wipe the surface with a tack cloth to remove all traces of dust before moving on to staining or sealing.